Overview
This article will provide the steps to set up the Cash Drawer via Epson Printer or Serial communication port. In order to follow the steps in this document you must have one of the hardware configurations below already setup:
- Epson Receipt Printer Driver is installed and compatible Epson type Cash Drawer is connected to Epson Receipt Printer.
- The serial Cash drawer connected to the computers COM port.
Procedures
This document is split into different sections. Depending on the stage of cash drawer setup you are at currently you may be able to skip some sections of this document.
Note: The Epson printer configuration show in this article is not currently supported in the Decor Fusion Cloud solution.
Access to Hardware Configuration
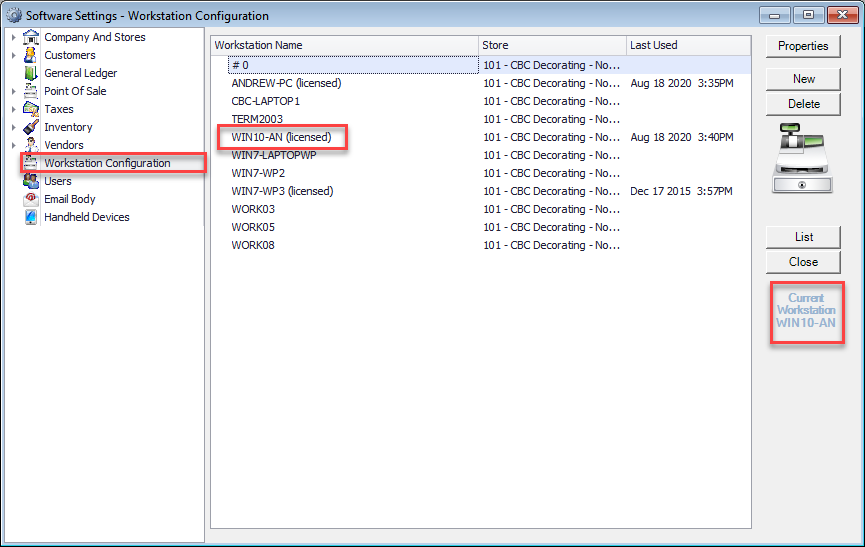
First, login to Decor Fusion. Then click on Edit menu then select Software Settings. From there select Workstation Configuration. Double click on the Workstation name on the right (Ex: WIN10-AN), confirm the name by checking Current workstation on the bottom right of the form.
Setup of the Cash Drawer via Epson printer
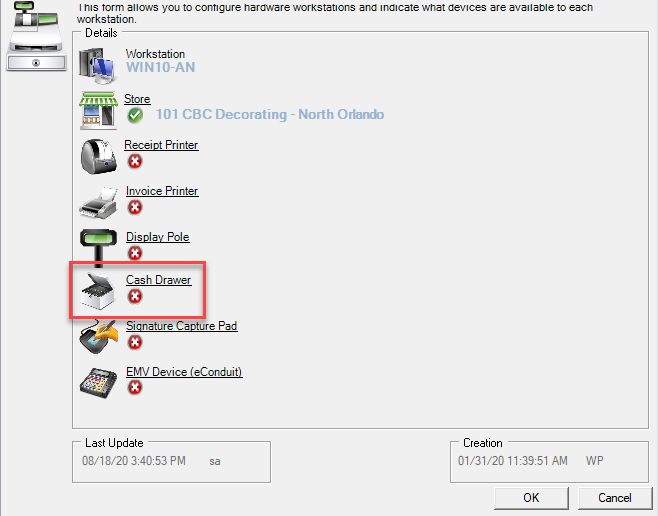
Click on the Cash Drawer link within workstation.
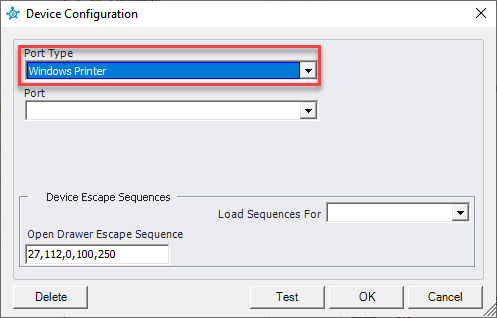
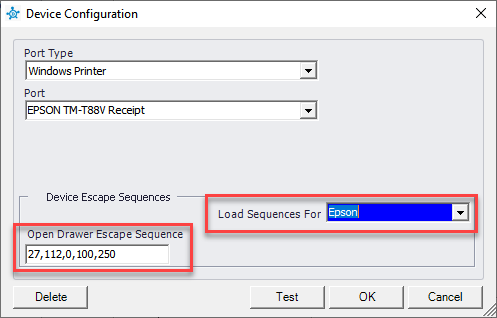
Make sure Port Type is set to Windows Printer
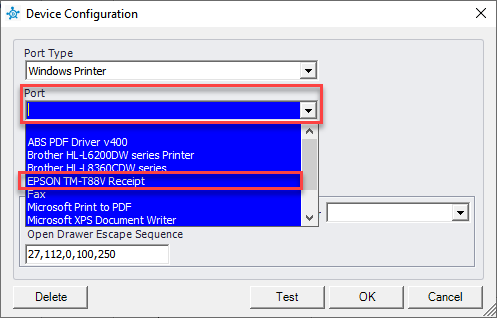
Under the Port click the down arrow and select the Receipt Printer (Ex: EPSON TM-T88V Receipt)
Under the Load Sequences For click the down arrow and select Epson. Open Drawer Escape Sequence will be filled in with Epson type opening cash drawer sequence. Click the Test button to confirm the Cash Drawer opens. Click the OK button.
You have now successfully configured Cash Drawer to open via Epson Printer.
Setup of the Serial Cash Drawer
Click on the Cash Drawer link.

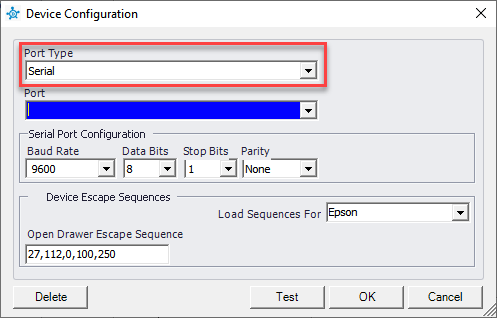
Under Port Type click the down arrow and select Serial.
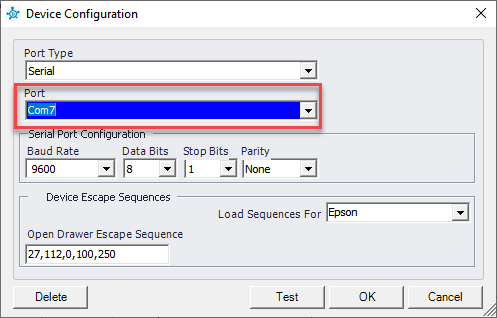
Under the Port click the down arrow and select the Com port the Cash Drawer is connected to (Ex: Com7)
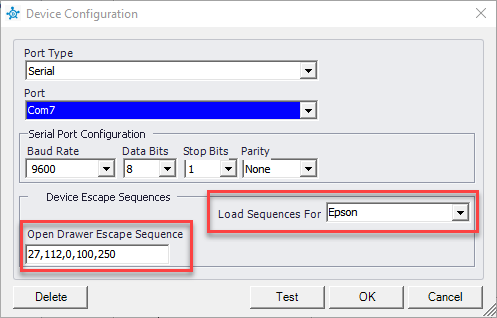
Under the Load Sequences For click the down arrow and select Epson. Open Drawer Escape Sequence will be filled in with Epson type opening cash drawer sequence. Click the Test button to confirm the Cash Drawer opens. Click the OK button.
You have now successfully configured a Serial Cash Drawer.