OVERVIEW
This document will assist you in setting up a new Customer Type.
PROCEDURE
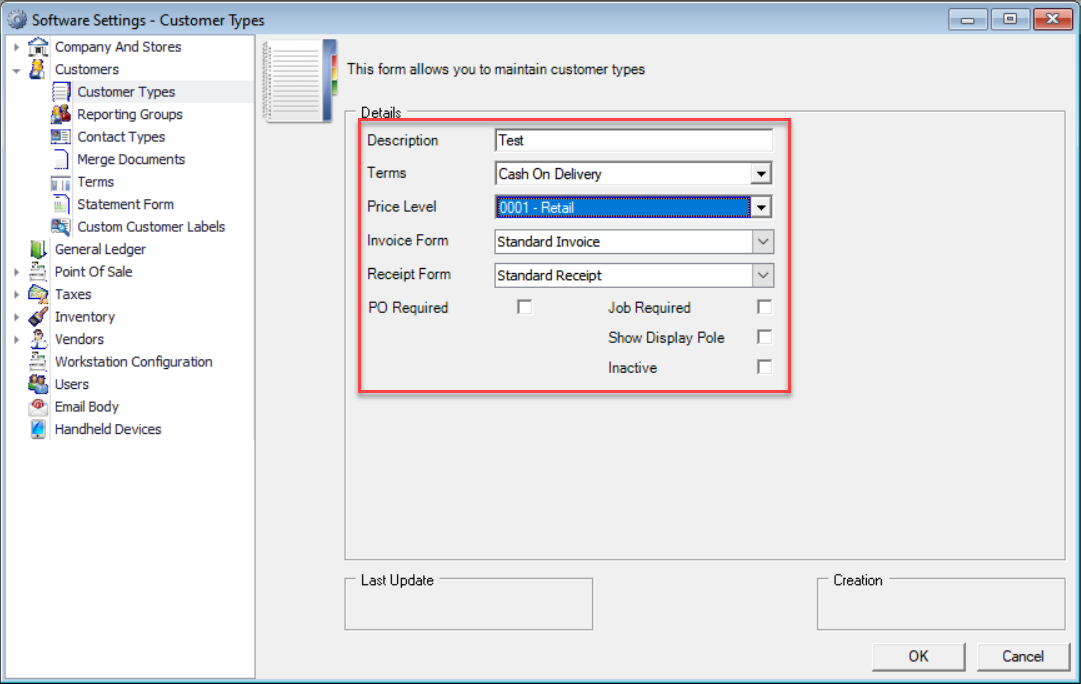
Click the Edit menu then select Software Settings. Select Customers and click Customer Type. Click the New button.

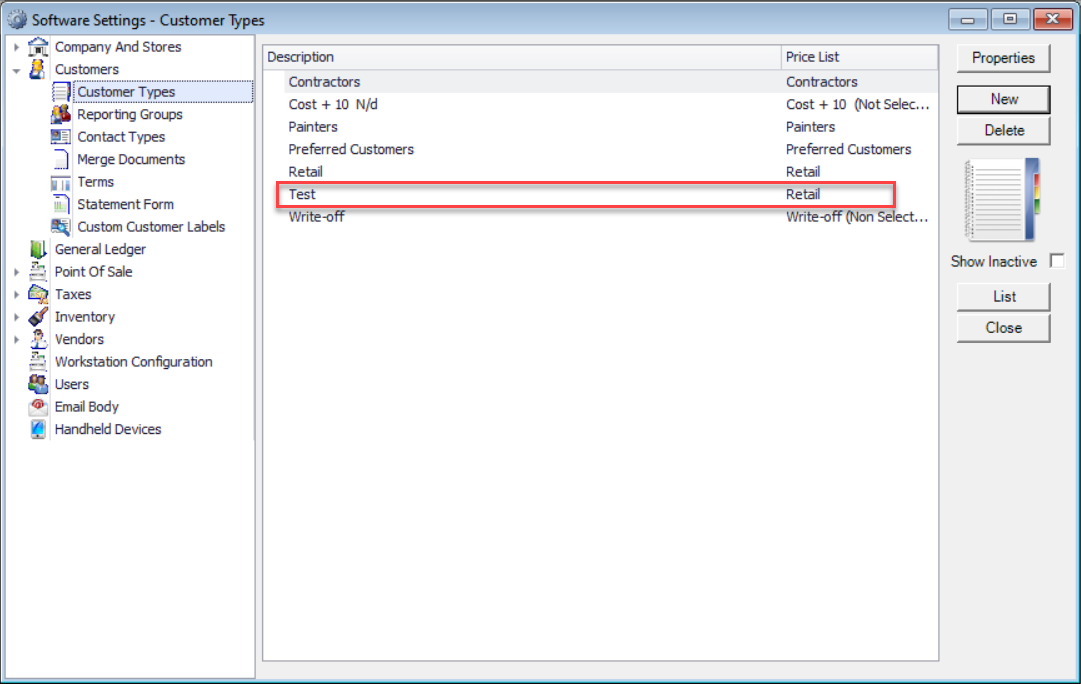
Fill in the Description, Terms, Price Level, Receipt and Invoice information. Click the OK button. The new Customer Type has now been added to the list.
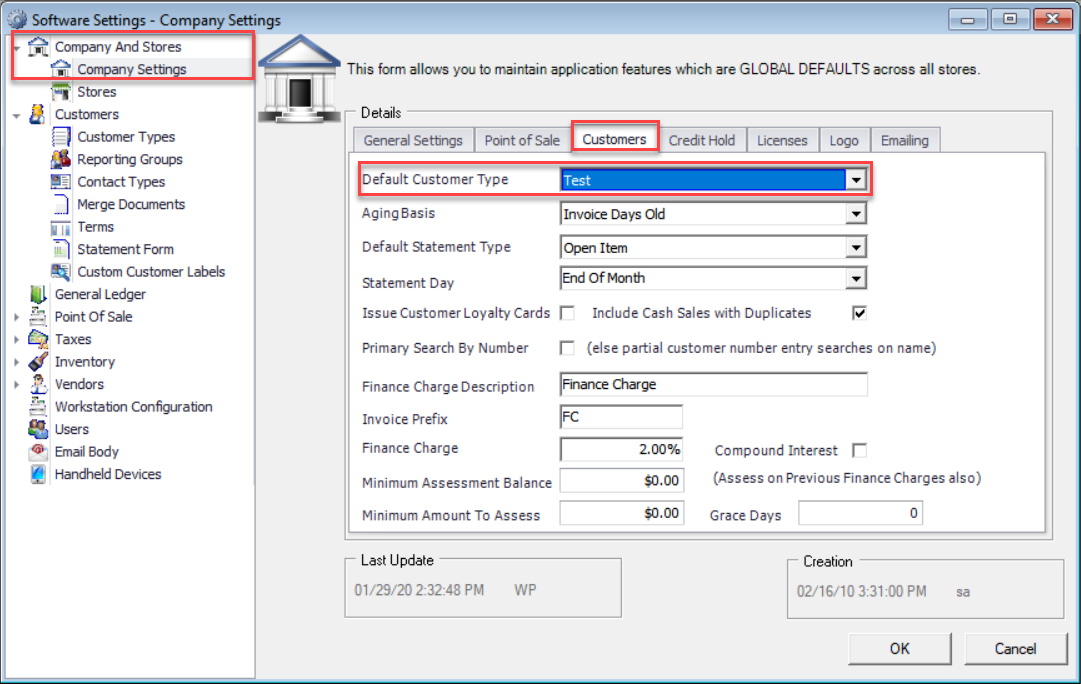
If this is to be the new default Customer Type complete the following instructions. Go to the Edit menu the Company and Stores then Company Settings and click the Customers tab. Under ‘Default Customer Type’, click the down arrow and select the new customer type that was created. Click the ‘OK’ button.