Overview
This document will show you how to write off an accounts receivable account due to bad debt.
Procedures
Click on Edit and select Software Settings. Click on General Ledger. Check for a Bad Debt GL Account. If a Bad Debt GL Account is not present then click the New button. The Suggested Account Number is 9996 and name it Bad Debt. Click the Ok button to save.

Click on Inventory in the Software Settings list and expand. Select Prompt Groups. Check to see if there is a Bad Debt Prompt. If there isn’t, click the New button. In the Description field put Bad Debt Write Off. Add 2 lines, Invoice # and Reasonof type Character. Leave the resto of the fields blank on both lines. Click the Ok button to save.

Next, we need close the Software Settings and click the Inventory quick access button on the main screen. Check for an Inventory item with the number BADDEBT. If it doesn’t exist click the New button. Item Number should be BADDEBT. Bad Debt Write Off is the name of the non stocked item. Set the Sales, Return, Cost of Goods, Inventory and Shrinkage GL Accounts to the Bad Debt GL Account. Mark the item as Taxable (If you remit taxes before collecting on the sale) else mark it Exempt. Add the Bad Debt Prompt Group you created above. Under The Miscellaneous section check Sellable but do not check Purchasable.

Click the Ok button to save.
Processing
Select the POS button and start a Credit order type. Choose the appropriate customer to adjust. Enter the BADDEBT item number, filling out the prompts with the appropriate information. Place the subtotal amount of the invoice into the List Price. If you have more than one invoice you may have to manually add the subtotals of the invoices. The tax will then calculate in order to credit you for the tax that you have already remitted for the sale. Note: No tax will calculate if your BADDEBT item is set to be Tax Exempt.

Click the Complete button to complete the transaction with the Method of Tender set to On Account. Hit the Enter key again to complete the transaction. The program will prompt you to select a printer for the invoice\receipt. Now go to the Daily Work menu and select Payment Entry.

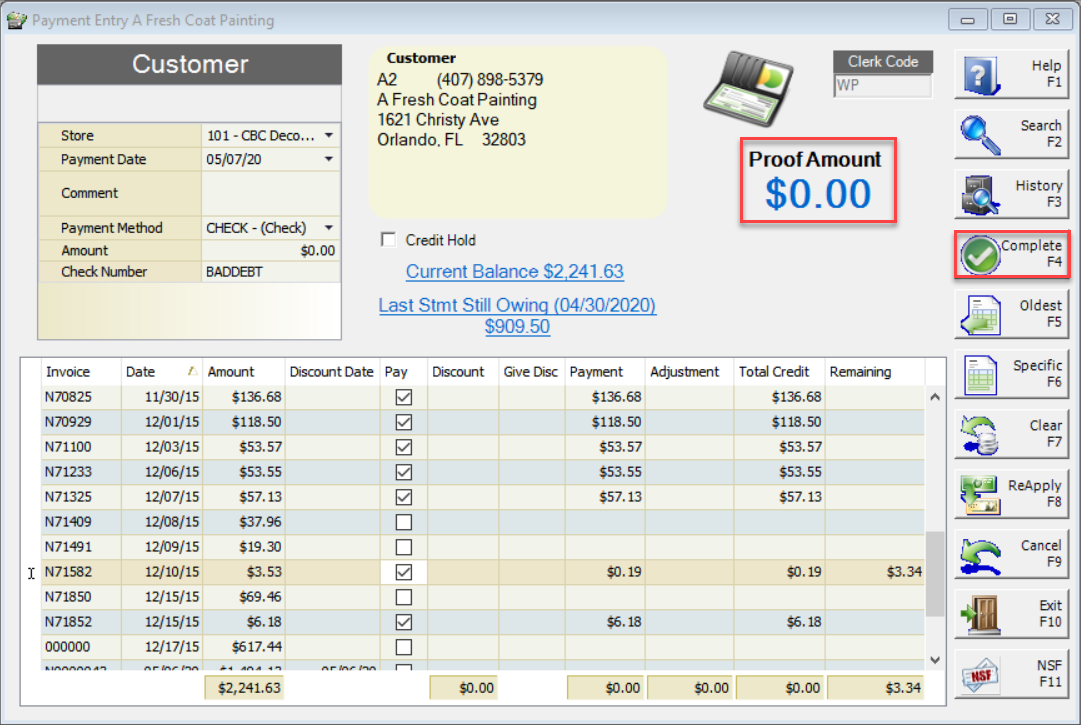
Enter POS Code and enter the Customer. The bad debt credit should be in this list.

Check that the Payment Date is the same as the day the credit was entered. A Comment may be entered to describe the reason for this transaction. Change the Payment Method to Check. Enter BADDEBT into the Check Number field and make sure Amount is 0. Hit the Enter key. Select all items to be paid in the Pay box. Once all items have been selected and the Proof amount is $0.00 click the Complete (F4) button to apply.